
In June we had the chimney removed. This consisted of 30 tons of rock and cinder block torn down and removed; framing of a new roof line; and a new metal roof installed over that area. That work was all on the external side of the house. Now on to the inside of the house.
We previous had a propane "fireplace insert". An insert, as the name suggests, is designed to be /*inserted*/ into a fireplace opening with a chimney. So with no chimney anymore we needed to replace that with a "propane fireplace", which uses a much simpler exhaust system. In preparation for that, the metal firebox for the original wood burning fireplace must be removed due to size constraints.
Thus the plan was to have the existing inside the house wall of stonework removed to provide access to the firebox for its removal, then frame a new flat wall with new stonework.
And so it began ....
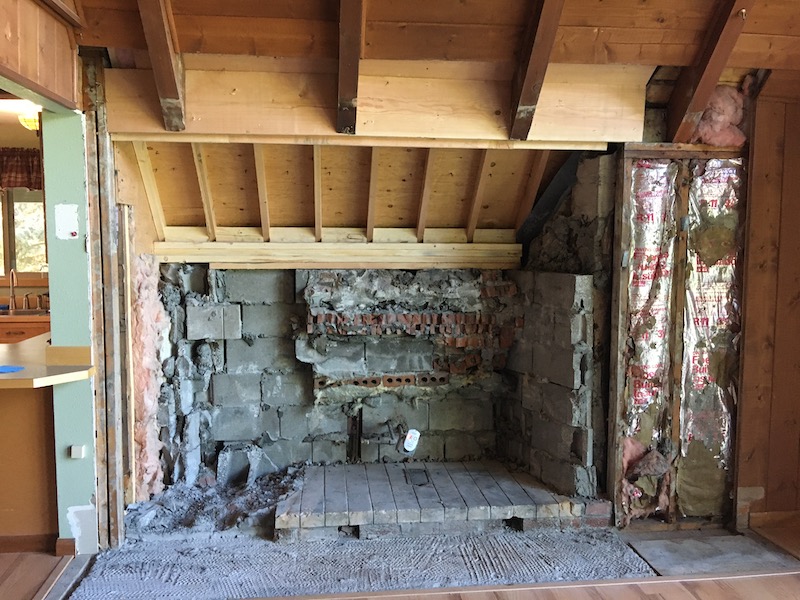
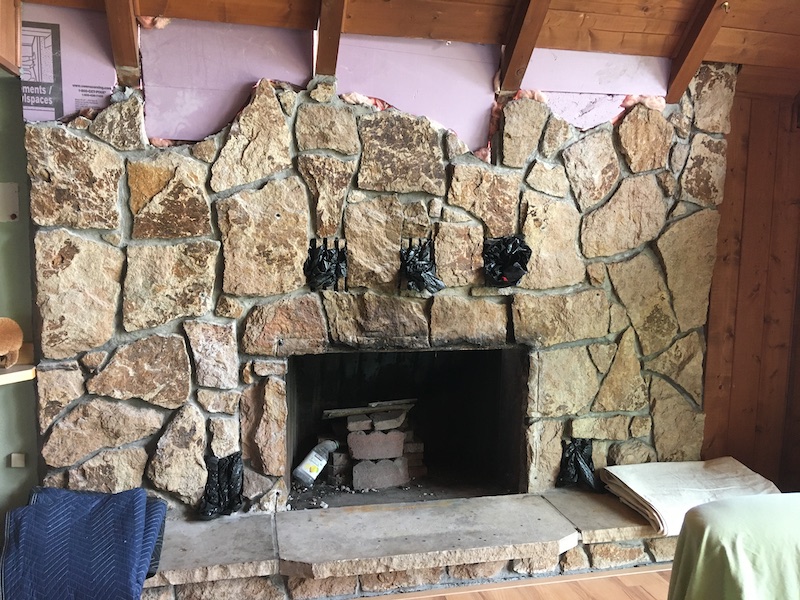
This is how it looked after the chimney removal. The top stones of the wall had been removed already as part of the chimney removal, as it was easy access to them at that point and would have been difficult after the new roof was installed. Pink foam insulation boards has been cut and stuffed in to place at the time as we could see blue sky until the roof work was completed. Blacks garage bags were stuffed in to the fireplace heating vents to keep debris and dust from getting inside the house during chimney demolition.
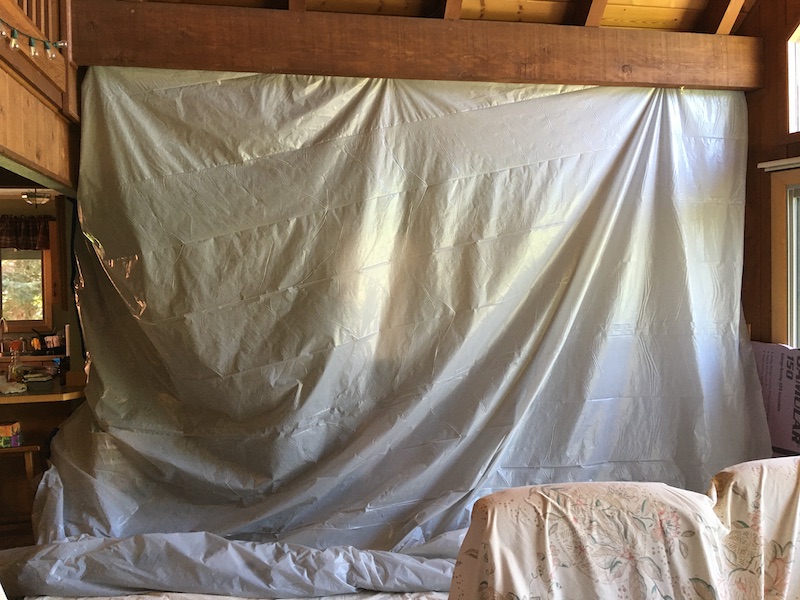
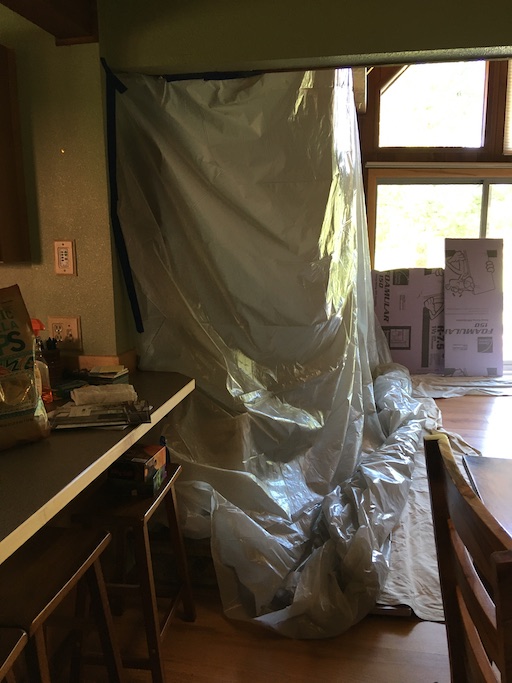
The stonework is removed, one rock at a time, using a portable jackhammer. This generates and incredible amount of dust, so the first step is to tent it up as much as possible. Furniture was all covered in sheets. Pictures all removed due to vibrations.
It still made an incredible mess throughout the house -- it took longer to clean and vacuum every inch of the house than the demolition took -- the cathedral ceilings in particular were in a pain in the ass to vacuum!
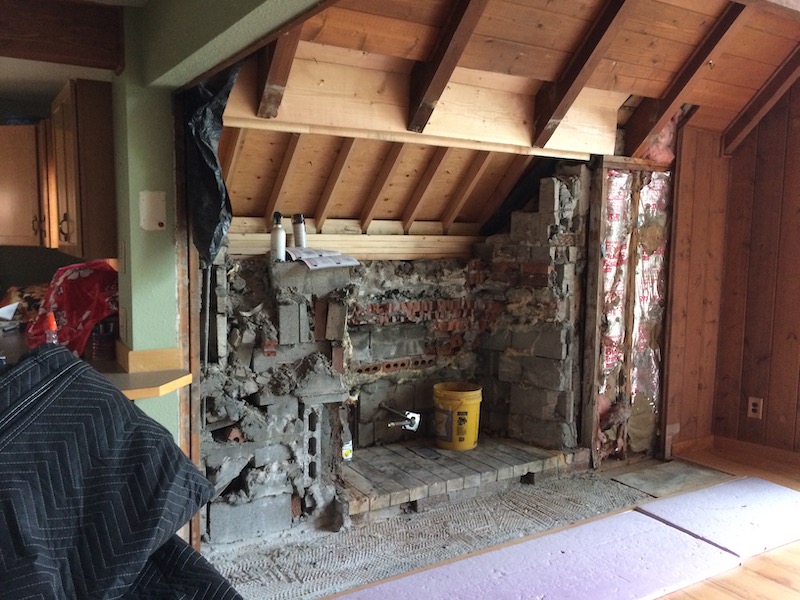
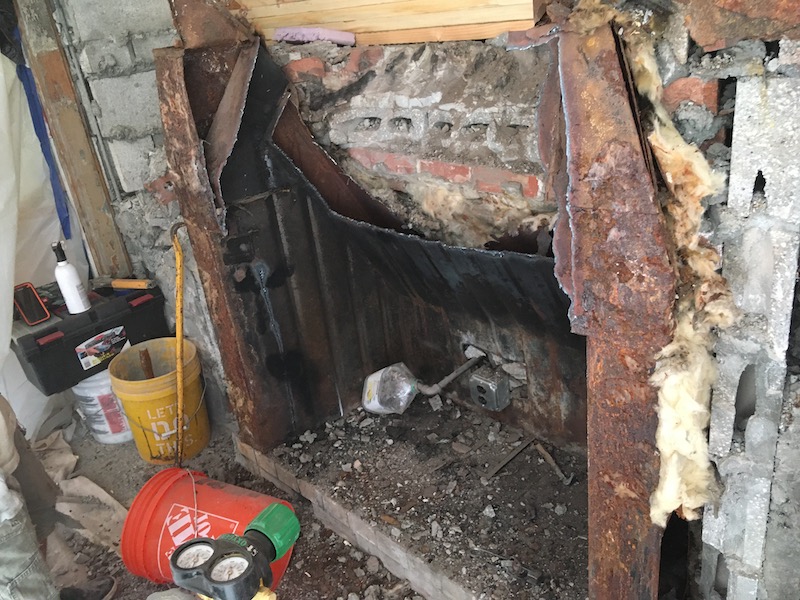
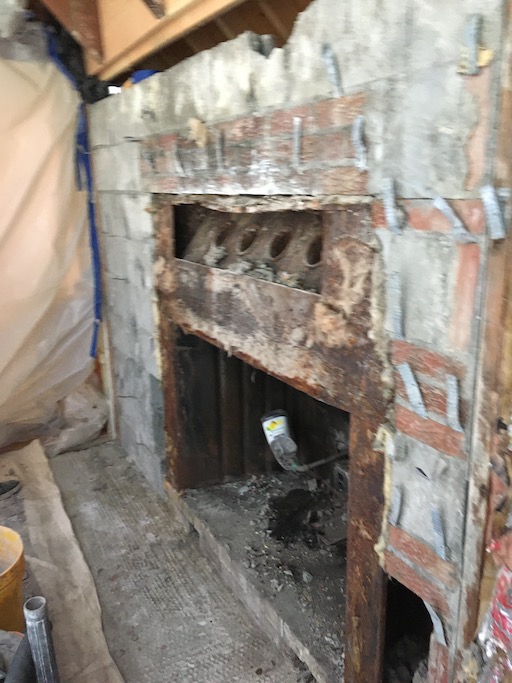
Inside the "tent", with the stonework removed. At this point we can clearly see a cinder block wall around the massive firebox. There are a few metal tabs attached to the cinder block -- these were all that anchored the stone; a small earthquake would have easily brought all that stone crumbling down. As our mason said -- "We don't build like that anymore".
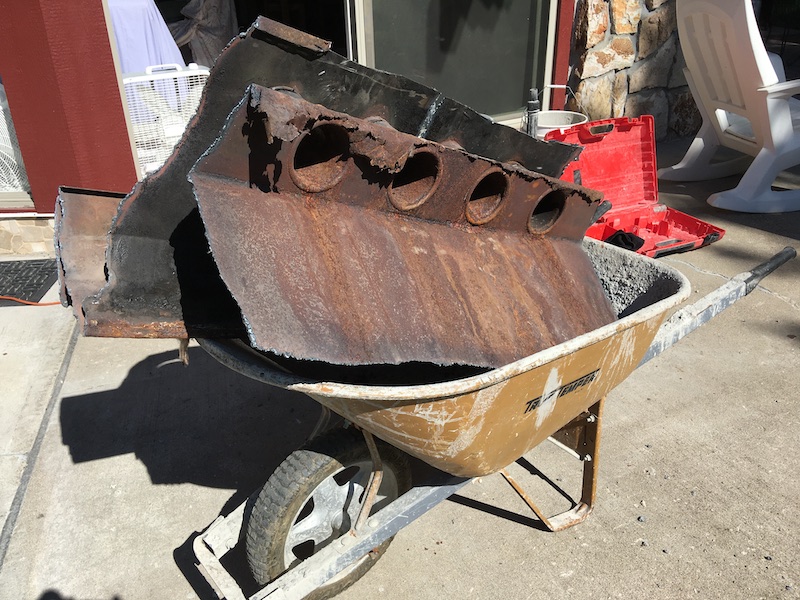
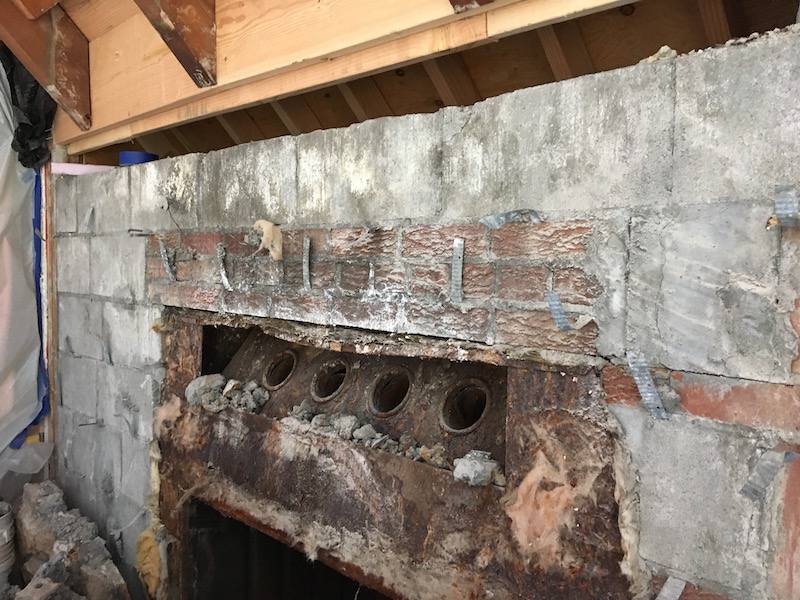
At this point it looks like it is simply a matter of removing the firebox. It is big. Huge! Extra Large! Our best guess is when they built the house they picked a spot for the firebox, put it in place and built the house around it. Just nuts! The 4 tubes are the metal vents -- the design is that air is sucked in on the lower sides of the firebox, drawn up over the fireplace, and vented out above the fireplace.
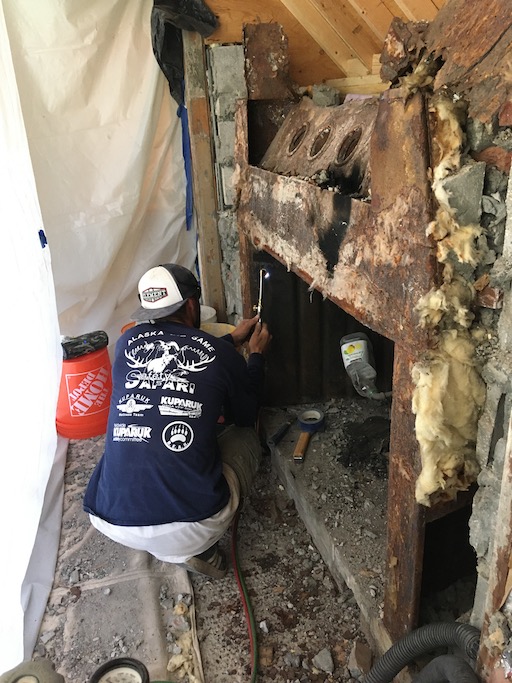
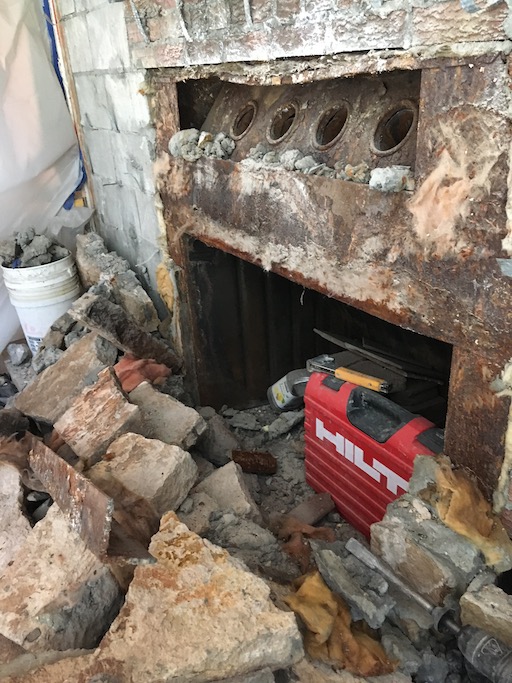
It immediately became obvious that some of the surrounding cinder would need to be removed to get the firebox out. The top portion was rusted enough it just took a little muscle to yank and break it off.
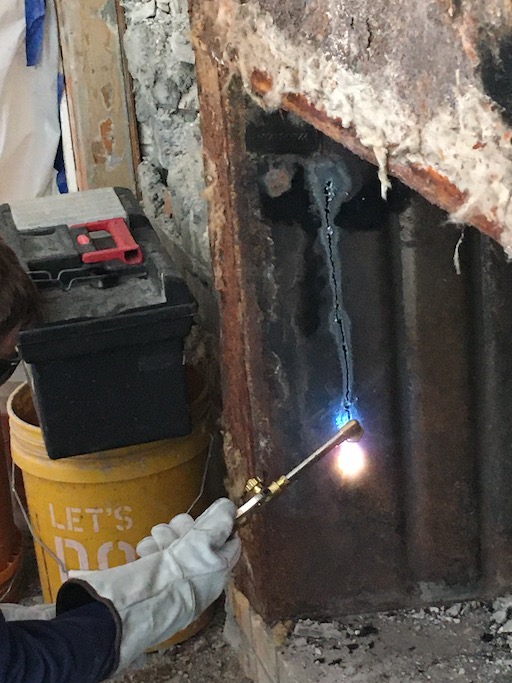
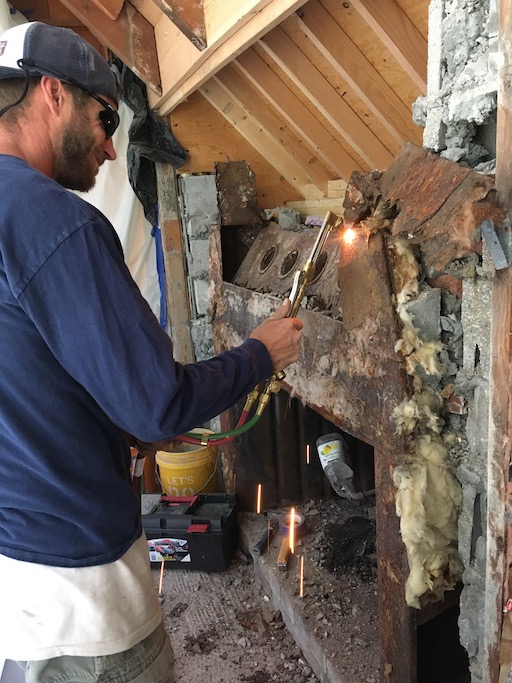
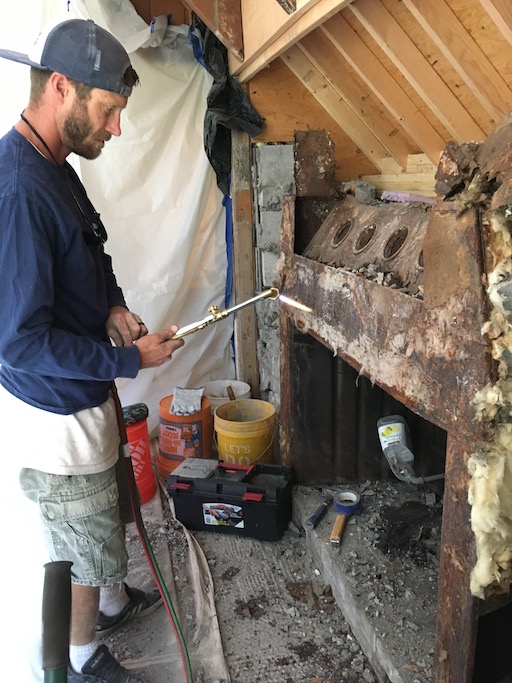
Then the torching begins.
We were definitely very, very nervous during the torching. My role was fireman -- water bucket and garden hose turned on outside on the deck, and fire extinguisher inside the house, but I was outside of the tent since there was limited space.
Yikes!!
The upper portion with the vent tubes have been removed.
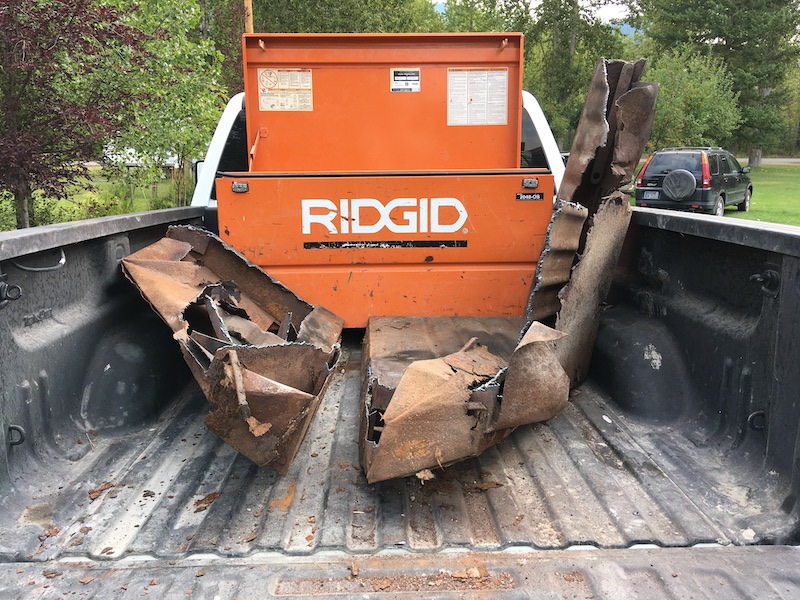
Various pieces inn the truck to be hauled away
When the torching was completed and it seemed the work was complete except for cleanup, I went for a run. On my return it looked like this photo. The mish mash jumbles of blocks and bricks on the left side were for the flue that extended to the basement, where we think at one time there was a wood burning fireplace. Definitely screamed the look of cowboy construction. The tent is removed and the area is very clean.
This is when Sandy and I looked at it and said "Y'know, if those blocks were removed, we could put in a cabinet. And above that we could have a really cool shelf that recessed back into the sloped ceiling". And that is how the feature creep began -- instead of a simple flat replacement wall, we wanted more.
We had the contractor and tools right there for demolition, so up went the tent again to tear out the additional cruft.
And on completion of the demolition, we end up with this cavity. Since this was not planned in advance, we now wait for our carpenter (who we worked with before) to free up to frame the area for the fireplace, cabinets and shelf. The propane fireplace is ordered and ready; the replacement stone is ordered and ready. Since the fireplace venting is simple and straightforward it can be done even in winter.
So we are not sure when the work will be done, but we'd like to think the dirtiest and most disruptive portions are behind us.
lastbestplace@mailman.ejop.com
-
 LastBestPlace